Introduction
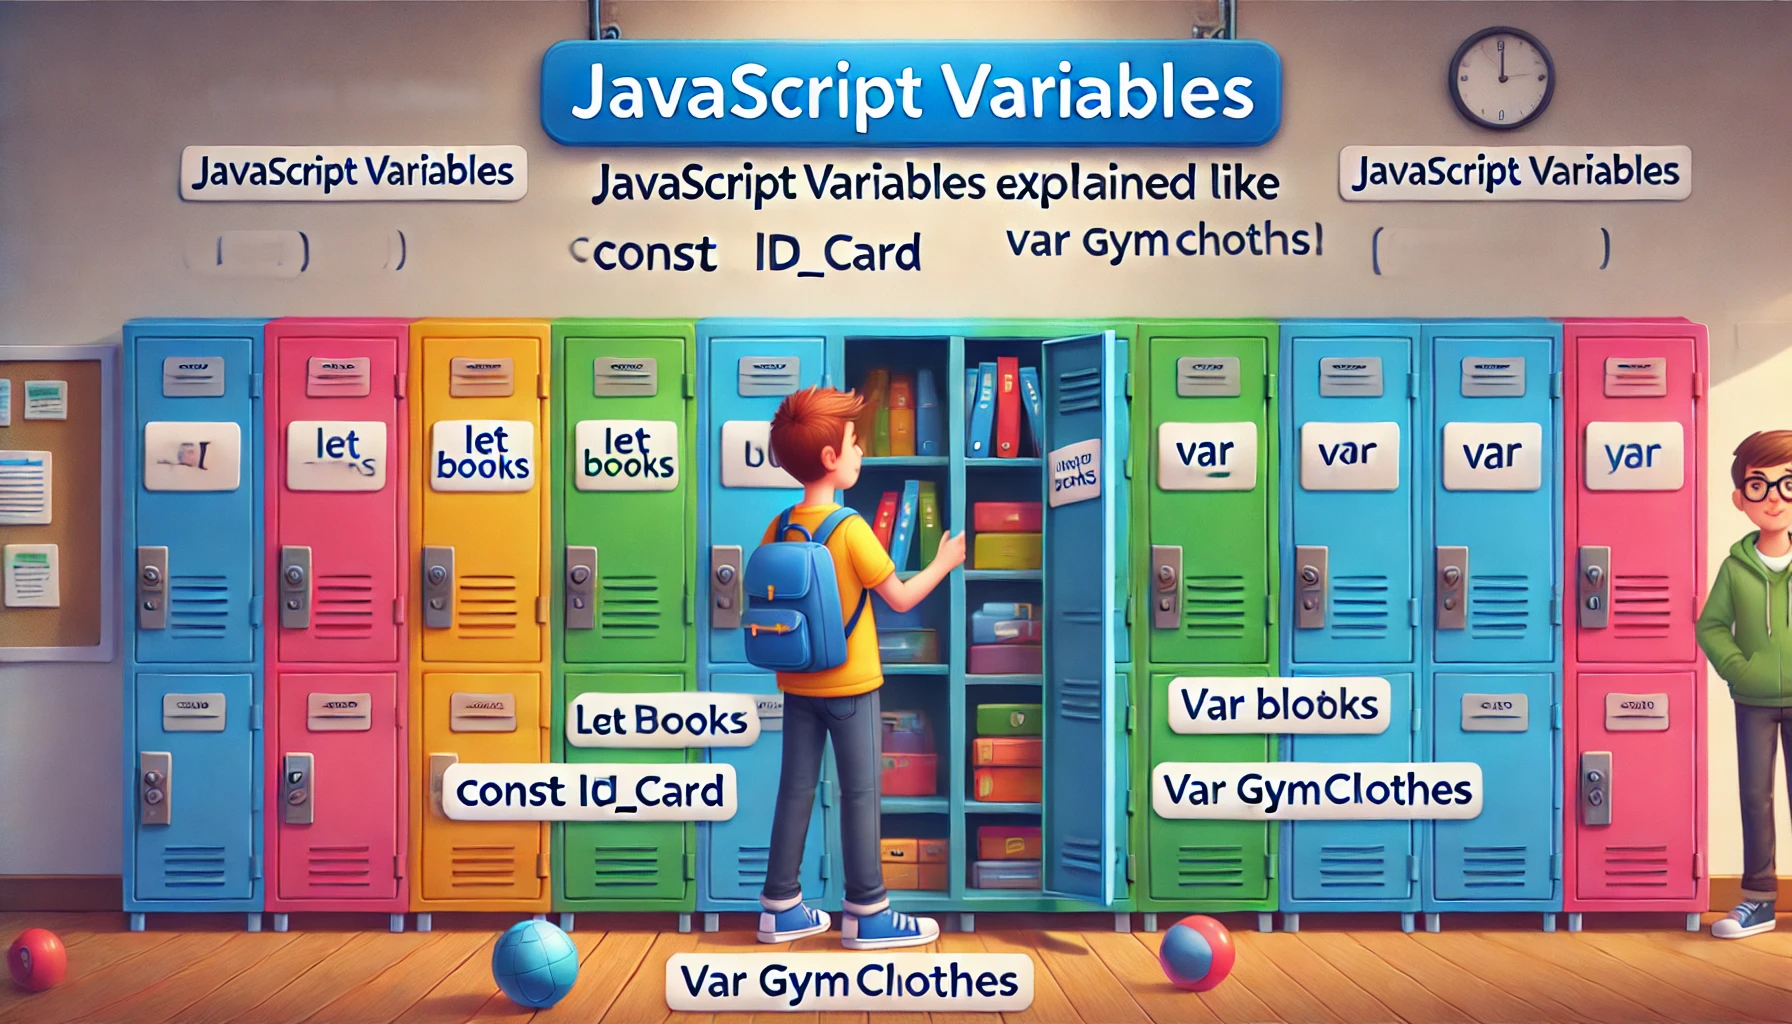
Learning JavaScript can feel overwhelming, especially for beginners. But what if I told you that JavaScript is just like a school with lockers? Just like students store books, lunches, and supplies in lockers, JavaScript stores data in variables.
In this guide, we’ll break down JavaScript variables using a fun school locker analogy, making it easy to understand for absolute beginners. By the end, you’ll have a strong grasp of how variables work in JavaScript, how they store data, and how they can be updated—just like opening and closing a locker!
JavaScript as a School System
Think of JavaScript as a school where everything follows a structured system. Students have lockers to store their belongings, just like JavaScript uses variables to store data.
Example Code:
console.log("Welcome to JavaScript High School!");
console.log("Each student gets a locker to store their belongings.");
📌 Key Takeaway: JavaScript organizes data systematically, just like a school organizes lockers for students!
Variables: Lockers in the School
A variable in JavaScript is like a locker in a school—it’s a place where we store information so we can use it later.
Example Code:
let lockerNumber = 101;
let studentName = "Alex";
let storedItem = "Books";
console.log("Locker " + lockerNumber + " belongs to " + studentName + " and contains " + storedItem + ".");
📌 Key Takeaway: Variables store data, just like lockers store students’ belongings!
Declaring a Variable (Getting a Locker)
Before using a locker, a student needs to claim it and assign a number to it. In JavaScript, you claim a variable using let, const, or var.
let: A locker where the contents can change over time.const: A locker where the contents cannot change.var: An older way to claim lockers (not commonly used today).
Example:
let myLocker = "Books"; // We claim a locker and put books inside
myLocker = "Gym Clothes"; // We replace books with gym clothes

const permanentLocker = "ID Card"; // This locker can NEVER change
// permanentLocker = "New ID"; This would cause an error!
📌 Key Takeaway: Some lockers allow changes, while others (like const) stay the same forever!
Retrieving and Changing Locker Contents
Just like how students can open their lockers and replace their contents, JavaScript allows you to change a variable’s value (if it’s not const).
Example Code:
let favoriteSnack = "Chips";
console.log(favoriteSnack); // Prints: Chips

favoriteSnack = "Chocolate"; // Changing what’s inside the locker
console.log(favoriteSnack); // Prints: Chocolate
📌 Key Takeaway: Variables can be updated, just like students can change what they keep in their lockers!
Empty Lockers (Undefined Variables)
Imagine claiming a locker but not putting anything inside. If a student opens it, it will be empty! In JavaScript, this is called undefined.
Example Code:
let mysteryLocker; // No items inside yet
console.log(mysteryLocker); // Prints: undefined
📌 Key Takeaway: If you don’t assign a value to a variable, it remains empty (undefined)!
Giving Lockers Special Names (Naming Variables)
Just like lockers have numbers, variables have names. But there are some rules:
- The name must start with a letter, underscore (_), or dollar sign ($).
- It cannot start with a number.
- It shouldn’t use spaces or special characters.
- It should be descriptive, like
studentNameinstead ofx.
✅ Good locker names:
let studentName = "Emma";
let lockerNumber = 42;
let favoriteSubject = "Math";
❌ Bad locker names:
let 123locker = "Pencils"; // Cannot start with a number
let student name = "John"; // Cannot contain spaces
📌 Key Takeaway: Descriptive variable names make code easier to understand, just like well-labeled lockers!
Conclusion: JavaScript Variables are Your Digital Lockers!
By now, you’ve seen how JavaScript variables work just like lockers in a school:
✅ Variables store important things.
✅ You can change or retrieve their contents.
✅ Some lockers (variables) are constant and can’t be changed.
✅ If you don’t put anything inside, the locker is empty (undefined).
✅ Naming matters—use clear and descriptive names for your variables!
Want to continue learning? Bookmark this page and check out our next lesson: JavaScript Functions Explained Like a Teacher’s Lesson Plan!